
In this article we are going to look at how to configure an OpenVPN server and if you choose, additionally configure multiple instances of the OpenVPN service. We will be utilising PiVPN, an installer that will configure and deploy various areas of our OpenVPN system; it’s suitable for use on Raspbian, Ubuntu or other Debian based systems.
Table of Contents
I have utilised the installer for several years now on various Raspbian based devices and Ubuntu 16.04 and 18.04 instances.
Installing OpenVPN using PiVPN
To get started login to a shell session on your server and check for system updates and install them:
sudo apt-get update
sudo apt-get upgrade -y
Next down and start the PiVPN installer:
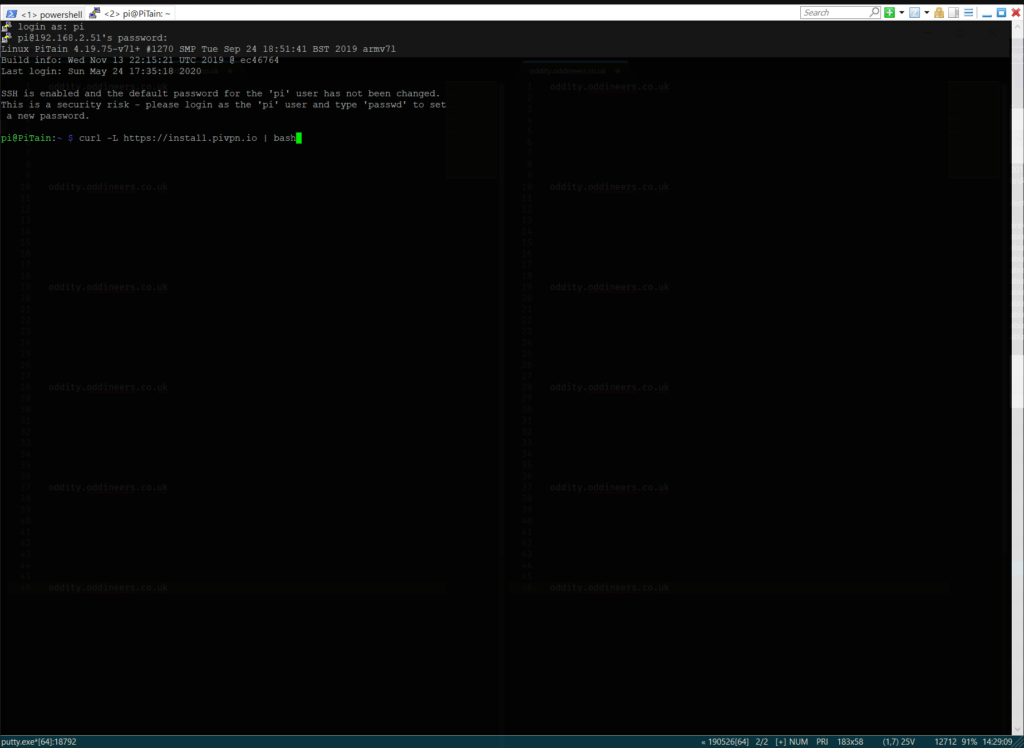
curl -L https://install.pivpn.io | bashI’ve put together a collection of screenshots walking through the various stages to the PiVPN installer accurate as of 05/06/2020. Note for most of these they are informative messages and you will be confirming several actions.
A summary of the step included as are follows:
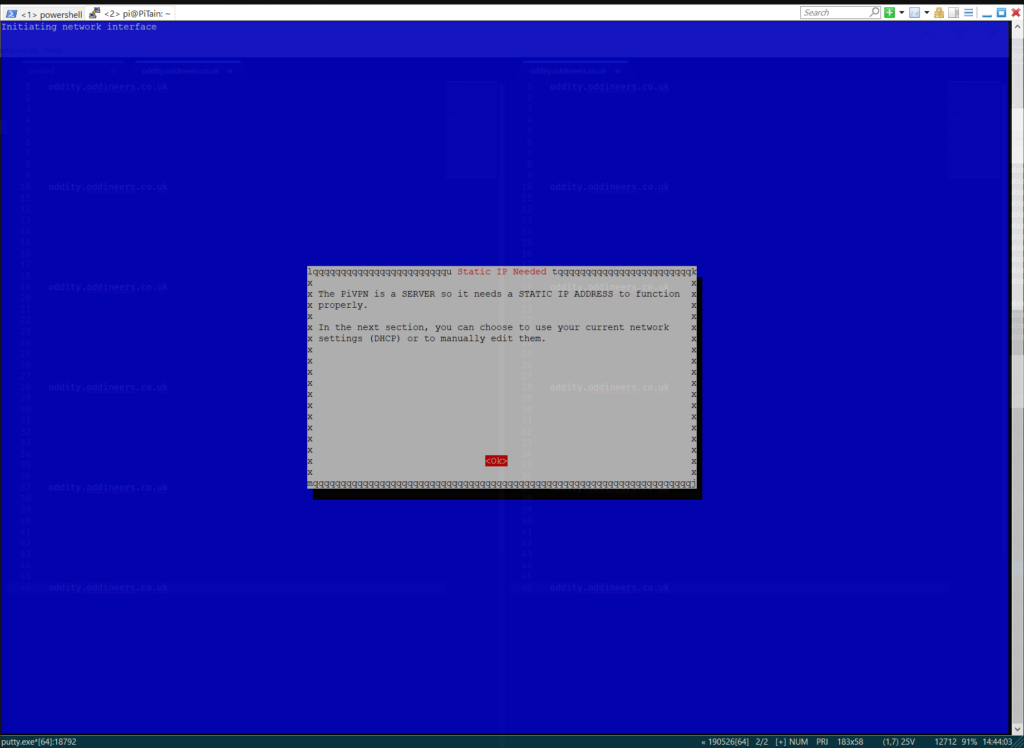
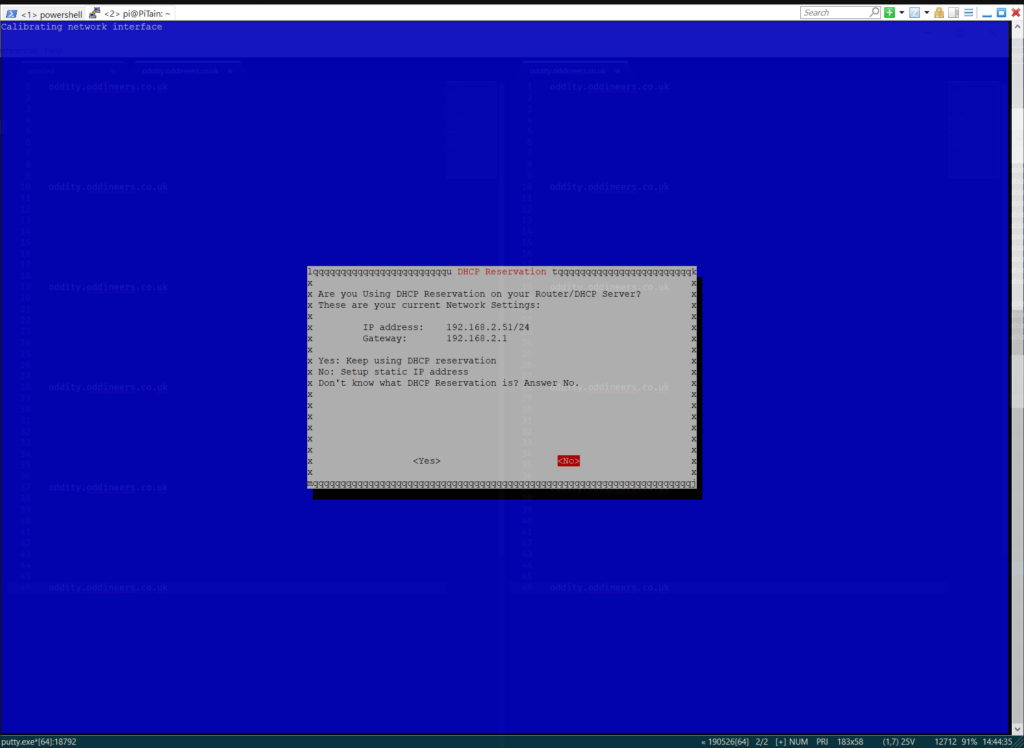
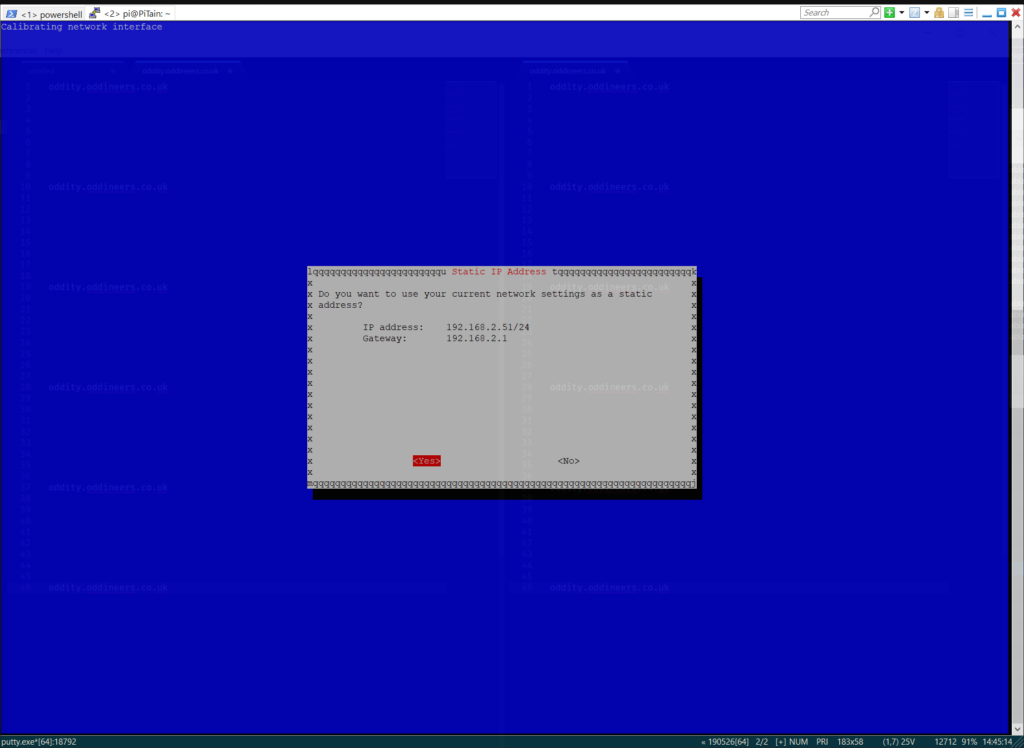
- Convert local dynamic IP to a reservation or make static.
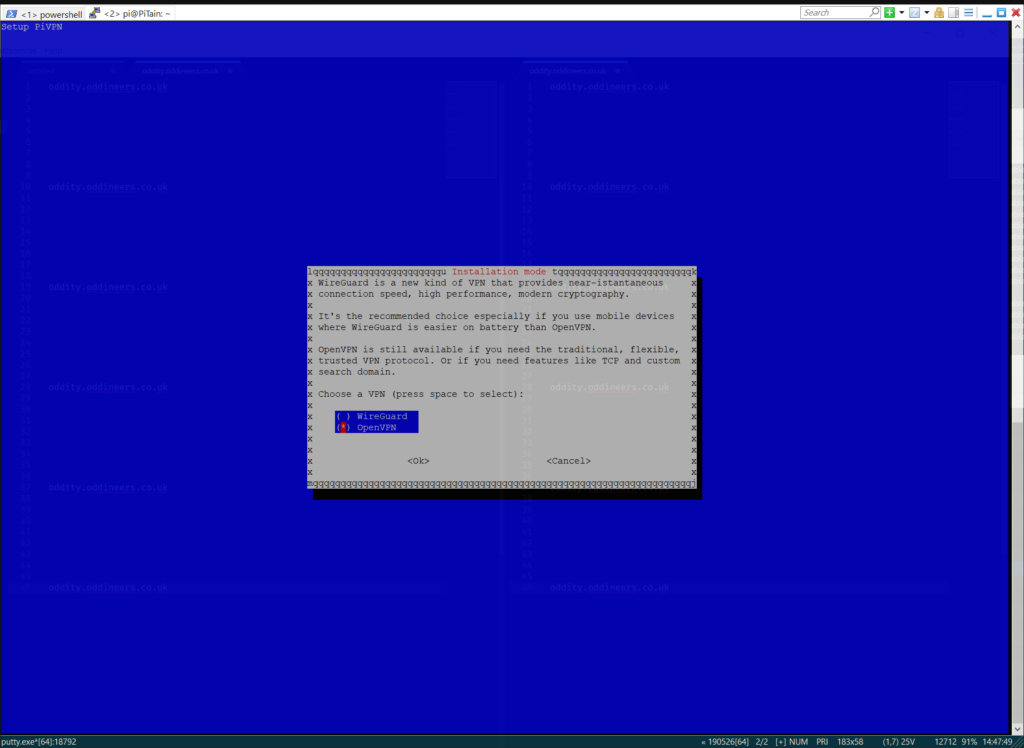
- Select OpenVPN as the VPN service to be installed.
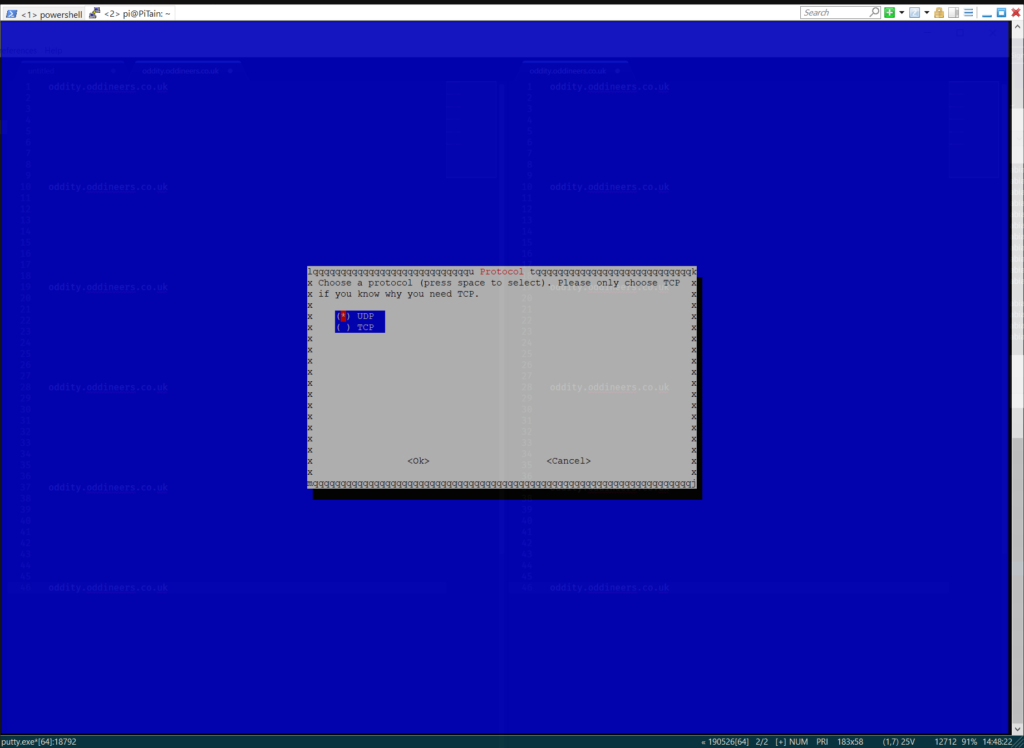
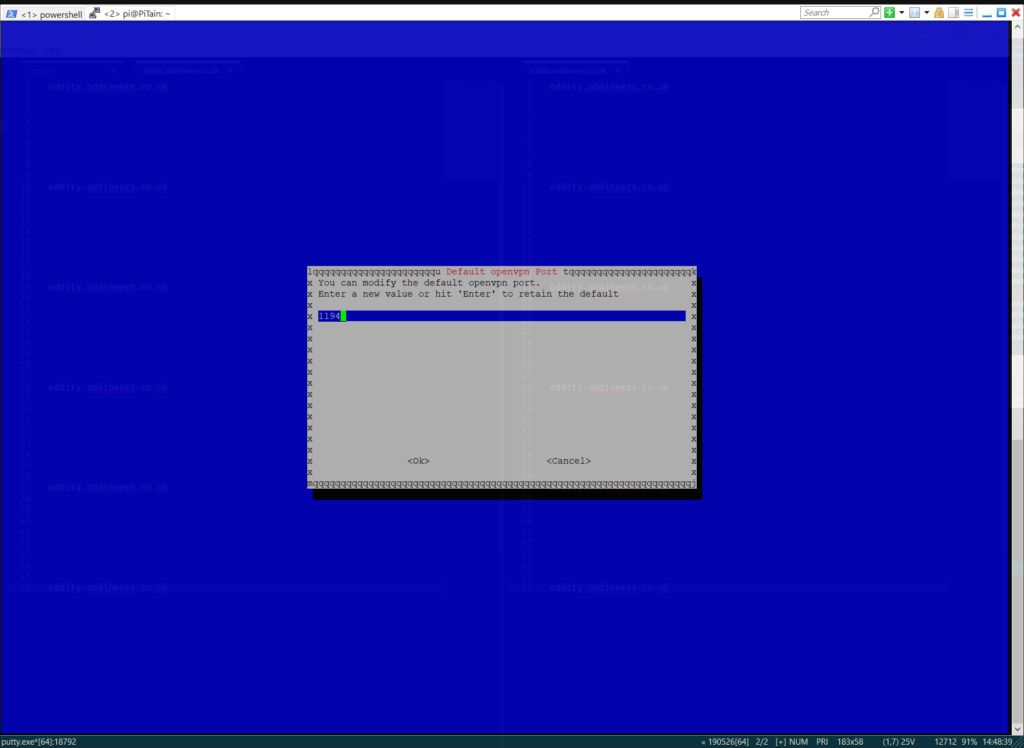
- Confirm defaults: protocol UDP and port 1194.
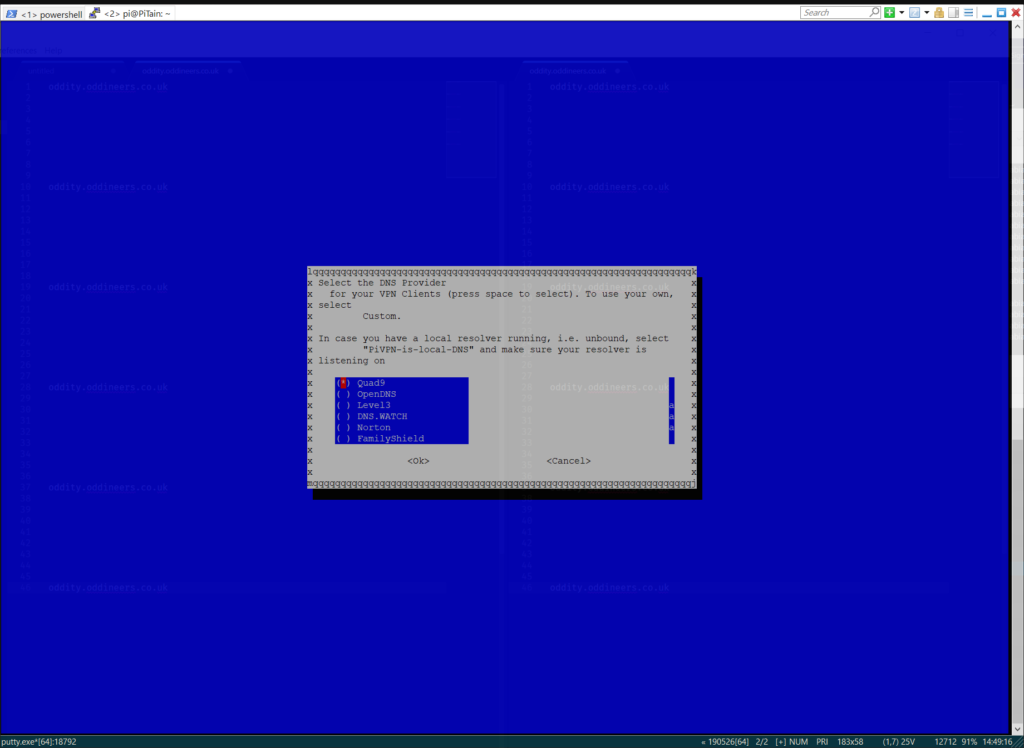
- Select a DNS provider.
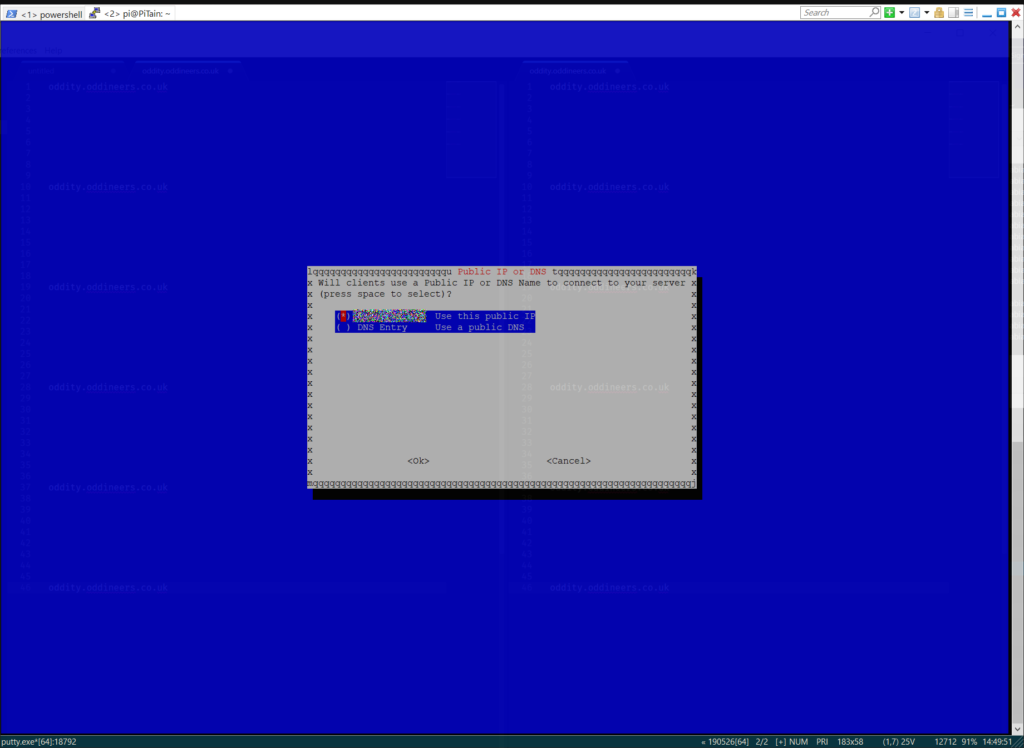
- Define whether clients connect to you public IP or a DNS entry.
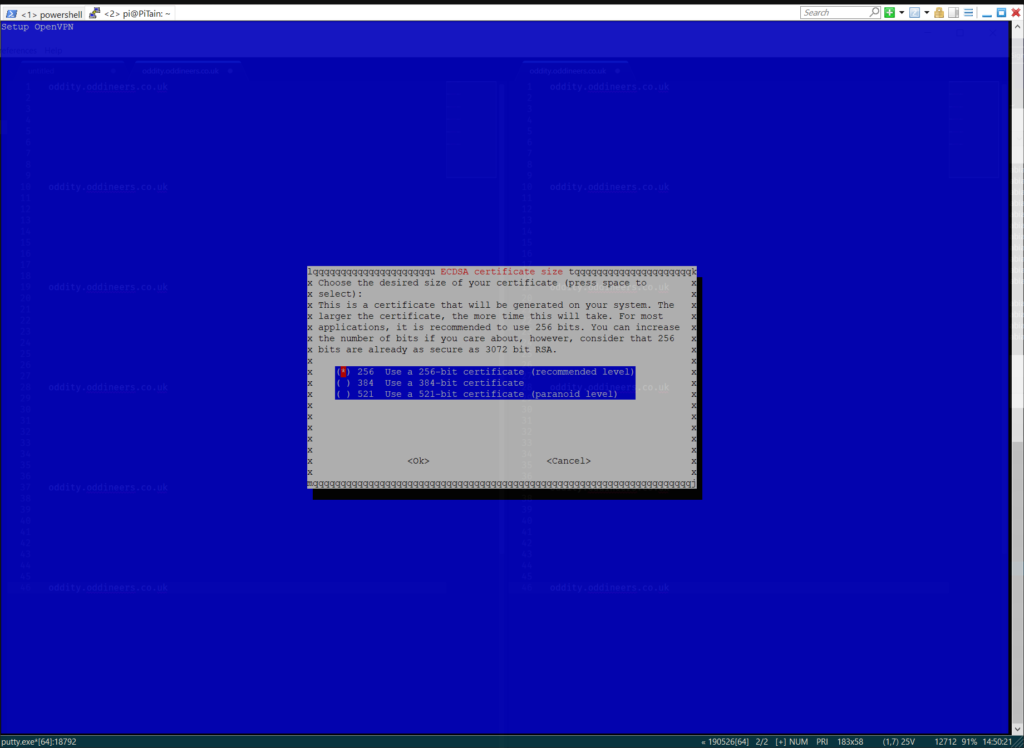
- Set cipher strength to 256-bit.
![]()
Launching the PiVPN installer.![]()
Information: click ‘ok‘ to move on. ![]()
Information: click ‘ok‘ to move on. ![]()
Confirm static address from current reservation. ![]()
Confirm static address changes. ![]()
Information: click ‘ok‘ to move on. ![]()
Information: click ‘ok‘ to move on. ![]()
Select your user local from the list. ![]()
Select OpenVPN in this stage. ![]()
Confirm UDP setting. ![]()
Check set to port 1194. ![]()
Confirm port 1194. ![]()
Select desired DNS provider here. ![]()
Leave set to ‘no‘ and
move on.![]()
Select your preference on IP or DNS connectivity. ![]()
Confirm with ‘yes‘. ![]()
Leave set to 256-bit. ![]()
Confirm this stage and sit back it will take a while. ![]()
Information: click ok to move on. ![]()
Confirm with ‘yes’ and move unattended upgrades with install.


Once the installer is complete; reboot your device and move on to create your client key.
Setting up your first OpenVPN client
pivpn add -nopassIt will ask you for a name for the client.
Once you’ve done that, it will generate an .ovpn file for that client. You’ll need this to log in on each client device. It will be stored in the users home directory under ~/ovpns/profile_name.ovpn .
You can print the profile contents to the cli with: cat ~/ovpns/profile_name.ovpn and copy to your required device.
Connectivity & port forwarding
For external network connectivity; you need to set up port forwarding on your router for the ports defined in each instance of OpenVPN (default the port is 1194).
This particular aspect is difficult to concisely cover due to there being many different implementations within routers from various manufacturers, some general guidance would include:
- The goal is to create a rule that allows inbound traffic on the ports you have opted to use and route traffic sent to them through to your device on the local network.
- Make sure the device hosting the VPN service has static address; the PiVPN installer will recommended and configure this step.
- Port forwarding can be under different name depending upon device manufacturers; so for example:
- DrayTek routers will refer to port forwarding as “Port Redirection“
- ASUS routers typically refer to port forwarding as “Virtual Servers“.
- Netgear routers often refer to it as: “Port forwarding/Port triggering“.
Deploying multiple OpenVPN instances
This section looks at how to configure two instances of OpenVPN running on the same device. The first will use the default ports to listen for incoming connections: port 1194 via UDP;
The second will be configured to use port 1192 via TCP. You may replace these ports and protocols with whatever ports/protocol variants you desire. In this example each instance of OpenVPN will use the same certificates and keys but be listening to differing devices and ports + protocol variations.
To clarify the following table will indicate the configuration we will be deploying:
| dev | proto | port | server |
|---|---|---|---|
| tun0 | UDP | 1194 | 10.8.0.0 255.255.255.224 |
| tun1 | TCP | 1192 | 10.9.0.0 255.255.255.224 |
Configuring the first instance
First you will want to check the existing OpenVPN configuration to ensure that it defines dev interface that it binds to, in this instance `dev tun0` is the line we will add to the top if it does not already exist.
Edit: sudo nano /etc/openvpn/server.conf
dev tun0
proto udp
port 1194
server 10.8.0.0 255.255.255.224
push "dhcp-option DNS 10.8.0.1"
Configuring the second instance
Now we will duplicate the existing `server.conf`:
Edit: sudo cp /etc/openvpn/server.conf to /etc/openvpn/server_tcp.conf
Now we will edit the second instances configuration `server_tcp.conf`, this time you will be changing at least 4 values shown below:
Edit: sudo nano /etc/openvpn/server_tcp.conf
dev tun1
proto tcp
port 1192
server 10.9.0.0 255.255.255.224
push "dhcp-option DNS 10.9.0.1"
Configuring IPTables
Assuming you have used PiVPN to deploy OpenVPN initially it will have already configured your iptable rules. If you want to check this use the following command:
Run: cat /etc/iptables/rules.v4
In the data returned by the command you should see a rule in the nat section as follows:
-A POSTROUTING -s 10.8.0.0/24 -o eth0 -j MASQUERADENow take a copy of the file to act as a backup for the current iptable configuration:
Run: sudo cp /etc/iptables/rules.v4 /etc/iptables/rules.v4.bk
We are going to duplicate the POSTROUTING rule and adjust the IP address range to match our second instance configuration: tun1 IP range: 10.9.0.0/24.
Edit: sudo nano /etc/iptables/rules.v4 and copy:
# Generated by iptables-save v1.6.0 on Sun Dec 22 16:56:45 2019
*filter
:INPUT ACCEPT [10908:1282311]
:FORWARD ACCEPT [2824:960345]
:OUTPUT ACCEPT [9211:9687732]
COMMIT
# Completed on Sun Dec 22 16:56:45 2019
# Generated by iptables-save v1.6.0 on Sun Dec 22 16:56:45 2019
*nat
:PREROUTING ACCEPT [138:9676]
:INPUT ACCEPT [127:9016]
:OUTPUT ACCEPT [241:16008]
:POSTROUTING ACCEPT [241:16008]
-A POSTROUTING -s 10.8.0.0/24 -o eth0 -j MASQUERADE
-A POSTROUTING -s 10.9.0.0/24 -o eth0 -j MASQUERADE
COMMIT
# Completed on Sun Dec 22 16:56:45 2019
Run sudo iptables-restore < /etc/iptables/rules.v4 to reload the IPTable configuration form the file.
Advanced – OpenVPN and PiHole
If you use PiHole you can update its configuration to serve DNS requests to connected OpenVPN clients. The change is simple we first need to define the interfaces PiHole should listen and serve requests on.
We are going to create a file: /etc/dnsmasq.d/99-interfaces.conf by creating this file it mean we no longer need to edit the default PiHole configuration as it allows our configuration to be persistent and survive future PiHole upgrades.
Edit: sudo nano /etc/dnsmasq.d/99-interfaces.conf and add and new INTERFACE var for each tun instance you configured PiVPN to listen on:
INTERFACE=eth0
INTERFACE=tun0
INTERFACE=tun1Important: Skip this part if you are using a newer PiHole version after 4 Mar 2017. Before this installations will have used the former PIHOLE_INTERFACE var instead of INTERFACE example:
# Reference: https://github.com/pi-hole/docker-pi-hole/pull/114/files
PIHOLE_INTERFACE=eth0
PIHOLE_INTERFACE=tun0
PIHOLE_INTERFACE=tun1
For the changes to take affect we need to restart PiHole: sudo systemctl restart pihole-FTL.service
Next we need to update the OpenVPN configuration to utilise the newly listening interfaces:
Configuring the first instance edit: sudo nano /etc/openvpn/server.conf and add:
push "dhcp-option DNS 10.8.0.1"Configuring the second instance edit: sudo nano /etc/openvpn/server_tcp.conf and add:
push "dhcp-option DNS 10.9.0.1"
I had a problem with the following:
“We are going to create a file: /etc/dnsmasq.d/99-interfaces.conf”
Pihole showed Lost connection to API on the admin console, thus ad-blocking was not present.
At the end I placed the new config file here: /etc/pihole/99-interfaces.conf which solved the issue.
Hi Zoltan, thanks for taking the time to leave a comment. I’m glad you resolved your issue but the location
/etc/dnsmasq.d/is valid, take a look at the documentation: What files does Pi-hole use?.Unfortunately I can’t glean enough details from your comment to suggest a problem elsewhere. I’m not sure the location you have chosen will survive updates. I would suggest moving the configuration back to the location defined in this article and then working out what your problem is by reviewing the pihole-FTL.log on the CLI:
tail /var/log/pihole-FTL.log -n 50.One thing to note in the article I did miss a
sudofrom the commandnano /etc/dnsmasq.d/99-interfaces.conf(updated now). Did you try creating the file withsudopermission? As follows:sudo nano /etc/dnsmasq.d/99-interfaces.conf.